Crochet Afghan Backgrounds
You will need to have your browser open to Kaleidoscope Painter (needs java) to do this tutorial. If this applet crashes for you (as it does for me in Opera) use the older, abandoned site here. I have written the page owner about the crashing applet problem but never received a reply. Both links will open in new windows.
Also used in this tutorial are some of the filters from Simple Filters (Blintz and Half Wrap) and my own filter set Teph's Tricks (Slide X 50%, Slide Y 50%, and Dark to Transparent).
NOTE: All images with borders are alpha transparent PNGs. Internet Explorer and Netscape 4.x users will see different background colors in these images depending on their browser settings.
Users of browsers that support alpha transprent PNGs will see the same background color as the text areas of this page.
First, play with the Kaleidoscope Painter, try different brush sizes, try DynaBrush, toggle the auto draw on and off. Once you are comfortable with it we'll begin.
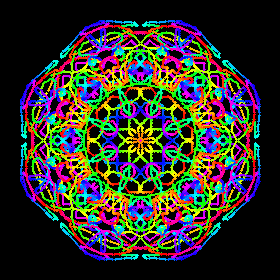
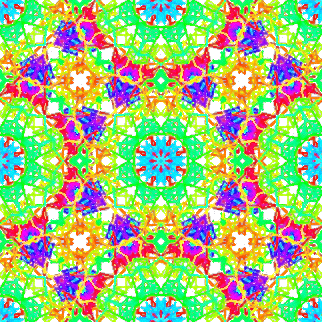
Clear the Painter and create a design that stays totally within the black canvas without running off the edges. This will be your 'granny square' ('granny octagon' actually) and the basis of your afghan.
Press your 'print screen' button or use PSP's Screen Capture feature to grab a copy of your design.
In PSP paste as a new image (ctrl-v).
Crop the image down to just the black canvas of your design, you should have something similar to this:
Go to Layers > Promote to Layer.
Use your magic wand tool to select the black area around the design.
Go to Selections > Modify> Select Similar.
Hit delete to clear out the black background.
Go to selections > Invert and then Image > Crop to Selection.
You now have something like this (the checkerboard is the transparent area):
At this point save the image as a PSP file or transparent PNG.
Do the following steps on copies of this image.
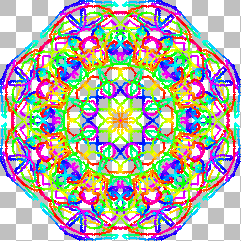
Try the Simple Filter called Blintz:
On another copy try the following:
Go to Image > Canvas Size and make the canvas 500x500 pixels with the image centered.
Go to Layers > Duplicate
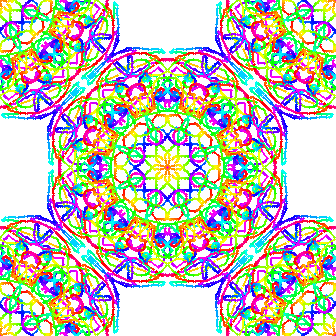
Use the Simple Filter called Half Wrap and you should have something like this (shown 50% of original size, checkerboard is transparent):
Now use the Selection tool to sweep a selection around the upper left quarter design. Drag it to it touches of slightly overlaps the centered design and the first set of coordinates at the bottom of the PSP window are equal. For me that would be (82,82).
Now subtract that number (82 for me) from 500. This will be the other coordinate you'll have to remember (I'll be remembering 418).
Drag the bottom left quarter so the first number of the first coordinate is the same as your first number (82) and the second number of the second coordinate is your second number (418).
Drag the bottom right quarter so both numbers of the second coordinate are the second number (418,418).
Drag the upper right quarter so the second number of the first coordinate is the first number (82) and the first number of the second coordinate is the second number (418).
Merge visible layers.
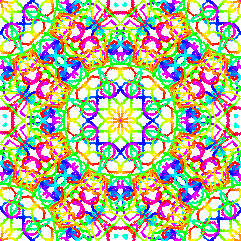
Use the magic wand to select around your design, invert the selection and crop.
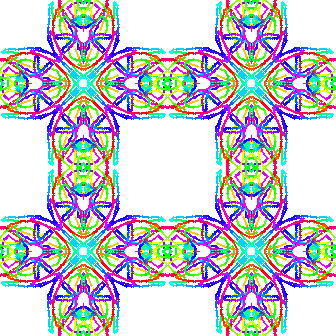
You should have a design similar to this:
Use a copy of the above variation to do the following:
Duplicate the layer.
Use Teph's Tricks Slide X 50% or Slide Y 50%.
[If you like this look, save a copy.]
Select the large empty areas with the magic wand (hold down the shift key while selecting).
Go to Selections > Modify > Enlarge and use 1 pixel.
Invert the selection.
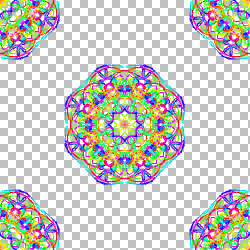
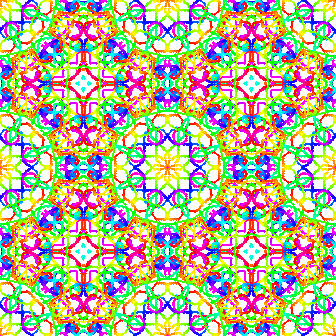
Go to the bottom layer and hit delete. You'll get something like this:

Starting with the same image as the last variation apply my Centered Checker mask.
Duplicate the layer.
Go to Masks > Invert Mask
Apply Slide X 50% or Slide Y 50%
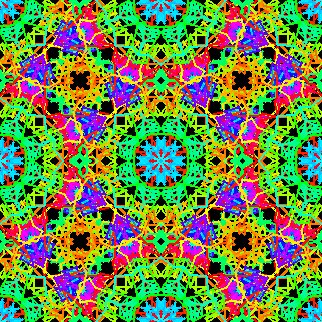
You'll have something like this:
Invert the masks on both layers and get this:
Both of these images can be cropped to one quarter of their size.
Play around with filters, layers, and masks to see what other designs you can create. All of the ones I've shown you here tile seamlessly.
If you have some of these designs saved as JPGs with black backgrounds and want to make transparent PNGs or PSP images you can 'reclaim' them.
Here is one of my old JPG versions (before I got smart and saved them as transparent PNGs):
Go to Colors > Adjust > Hue/Saturation/Lightness and set the Hue and Lightness to 0 and the Saturation to 100.
Go to Layers > Promote to Layer
Apply Teph's Tricks Dark to Transparent with a threshold of 64.
Save as a transparent PNG or PSP file.
If you don't like the 'fuzzy' look left from the dithering the JPG produced apply either Sharpen or Sharpen More.
Back
![]()
©2002 Lynn A. Davis
The background of this page is a transparent
PNG.
To view this page as intended use Opera 6,
Netscape 6, Mozilla
or some Mozilla based browser.