 "Painted"
Shoji Screens"Painted"
Shoji Screens
"Painted"
Shoji Screens"Painted"
Shoji ScreensI came up with this technique to create graphics for the layout of the LiveJournal community I co-maintain. Since it's been a while since I put up a new tutorial I thought I might as well write one. It also helps me remember how I did the graphic if I need to create another later.
Start by choosing an image to make a shoji screen from. It's generally a good idea to work larger and resize when you're finished but working more than twice the final size can cause loss of detail when you resize.
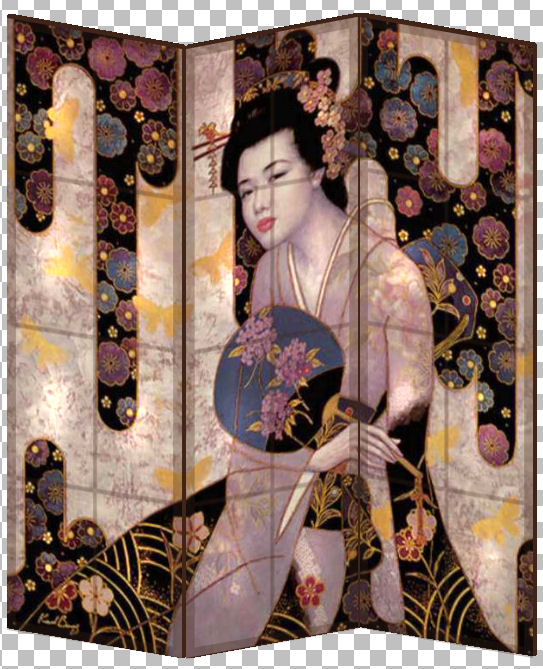
For this technique there is an additional consideration of image composition. Since we'll be making a three panel screen you want to choose an image where the subject falls in the middle third of the image. If there are two or more subjects you want to try to avoid cutting them with the edge of a panel. I'd demonstrate with a pair of Karl Bang images and some red lines to show panel edges.

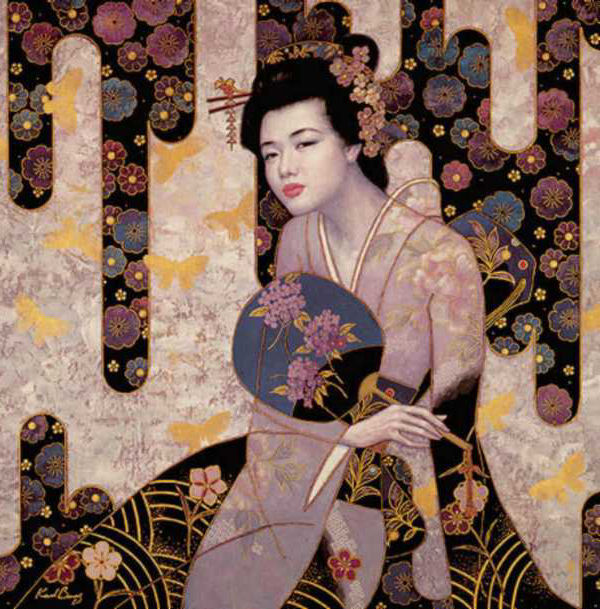
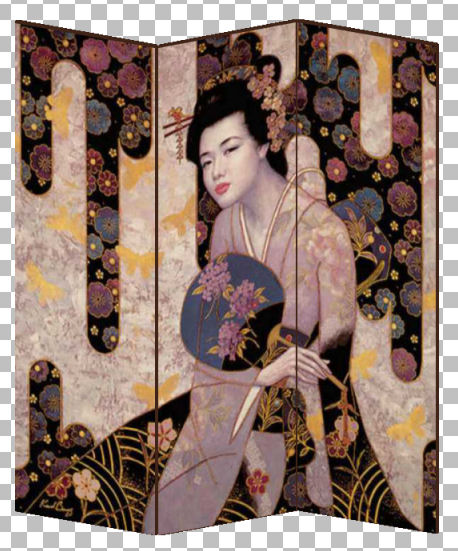
Good: The subject is pretty close to the center of the image. When we cut it into thirds her head will be on the middle panel. We could crop this image to place all of the figure into the center panel but it's really not necessary and would make the shoji oddly proportioned.
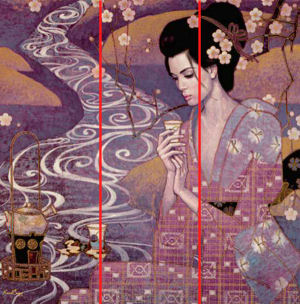
Not so good: If we divided this image into thirds the face would be on the middle panel but the head and body would be divided over two panels. You could still use the image of course, but the layout could be better. The image works with four panels but the number four is considered unlucky to the Japanese so it would be unlikely to find a four panel shoji. If I were set on using this image I would make the middle panel double wide and fold the shoji inward on both sides. You could crop off a portion of the image, probably the tea pot, but doing so detracts from the image composition and the resulting shoji would be rather tall and narrow.
Once you have your image chosen we can get started. I'm going to use the "good" example, right click on the image and save it to your hard drive if you'd like to use it to follow along.
The first step is to duplicate the image and close the original in order to avoid possible destructive mistakes.
Promote the background to a layer (Layers > Promote Background Layer).
Take note of your image width, this one is 600 pixels, which is very convenient. You image doesn't have to be exactly divisible by three but cropping off a pixel width or two doesn't really make a visible difference.
Choose the rectangular selection tool. Turn off antialias and set the feather to 0.
Select the left third of your image. You can do this easily by entering precise coordinates for top, right, bottom, and left. With PSP 8&9 you can do this by selecting the "custom selection" icon on the selection toolbar (it's generally to the right of the antialias checkbox). With older versions of PSP you can double click the selection tool to bring up the custom selection dialog.
Float the selection by clicking on it and then promote the selection to a layer (Ctrl + Shift + P).
Select none/deselect and go back to the original image layer.
Select the middle third and promote it to a layer the same way.
You should now have three layers, the left side of the image on the top layer, the middle on the middle, and the right on the bottom. You might want to name the layers accordingly. (I name them left art, middle art, and right art.)
Save the image as a PSP file. Save early, save often.
Now increase the canvas size (Image > Canvas Size) to be twice the current size or at least 400 pixels larger in both directions. Make sure you center your current canvas in the new larger canvas.
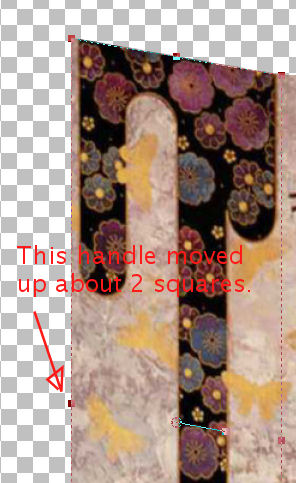
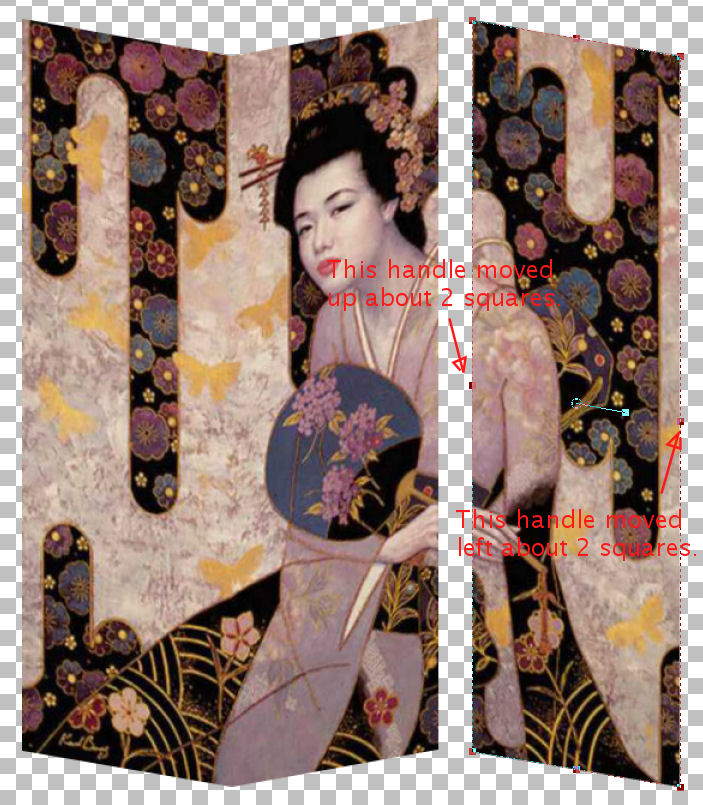
Go to the top layer (left art) and select the deformation tool. Drag the left edge inward a bit.
Hold down the shift key (the cursor will show a parallelogram) and drag the middle left side handle upward about the same amount.
How much you deform the panel at this stage determines how tightly the final screen is folded. Since we want to fold all the sections about the same amount it helps to either keep track of the cursor movement in pixels or to note a reference. I use the checkerboard background as a guide.

Now go to the middle layer (middle art) and deform that panel by moving the right edge inward and up by the same amount.
Finally go to the bottom (right art) layer and move the right edge in and the left edge up.
Save.
Now you need to arrange the panels a bit. Move the middle panel to the right slightly, about 4 pixels should do it. Move the right panel so the edge matches that of the middle panel and then move it right about 2 pixels. This puts gaps in the image where there would be space for hinges.
Switch to the magic wand tool. Check the box for "sample merged" and click in the area around the art panels. Invert the selection and expand it by 2 pixels. (If you want a more substantial frame for your shoji expand the selection more.)
Create a new layer, call it "frame" and flood fill the selection with a dark brown shade (#402418 for instance). Move the new layer to the bottom of the stack.
Float the selection and move it up 2 pixels and right 2 pixels (or as many pixels as you expanded by). Defloat and deselect.
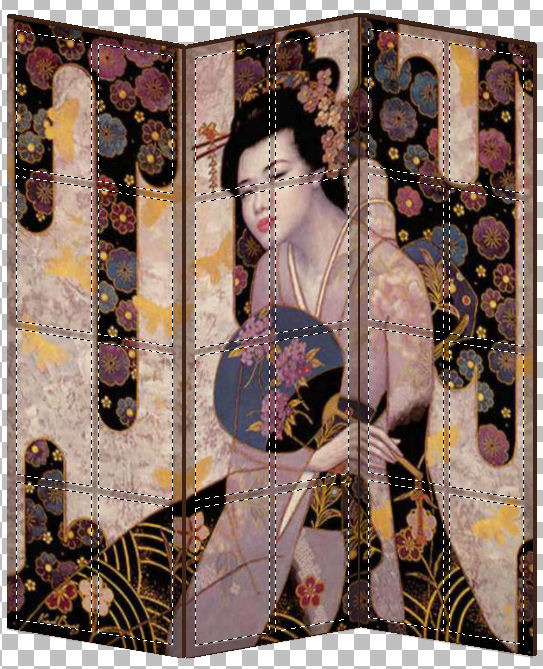
Your image should now look like this:
Now we need to create the panes for each panel.
 Open
a new image, the width should be one third of the your original art image (200px
in this case) and the same height (609px). The background should be transparent.
Open
a new image, the width should be one third of the your original art image (200px
in this case) and the same height (609px). The background should be transparent.
Flood the new image with the same dark brown color you just used.
Select the whole image and contract by 10 pixels. Hit delete to cut out the center.
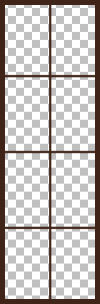
Switch to the line tool, set the width to 5 pixels and draw a straight line down the center of the image.
Divide the height of the image equally and draw straight lines across the image. You should end up with something like the image on the left (shown half size).
Save this image as either an alpha transparent PNG or a PSP image.
Copy the image and go back to your shoji image.
Paste as a new layer (Ctrl + L).
Move the new layer over one of your art layers and move the pasted pane image over the art. Use the deformation tool to fit the pane to the art.
Repeat for the other two art panels.
Reduce the opacity of the pane layers to about 30% and set the blend modes to multiply.

Switch to the magic wand tool and set the mode to "Add" (or hold down shift) to select the inside of each pane on all three pane layers.
Make a new layer above all the other layers and set the blend mode to dodge.
Contract the selection by 30 pixels (or so the selected area is about one third the original size) and then feather it out by 32 pixels (or two pixels more than you contracted by).
Fill the selection with white. What shade you should use for the fill in this step is dependent on your original art image. White works best for this but lighter images may do better with a medium grey. Also try adjusting your layer opacity to get the look you like.
Apply a Gaussian Blur of 10 pixels.
I wanted the light to be brighter so I duplicated the light layer.
I decided that the pane lines were getting washed out so I moved those layers to the top of the stack.
At this point you are effectively finished. You could add a stand by giving each panel legs and a foot, add decorations to the edges and top, or whatever strikes your fancy.
I like to add a cast shadow to enhance the backlit transparency effect. This is how:
Save your image. Better yet duplicate it and close the original.
Copy the merged image (Ctrl + Shift + C) and paste as a new layer (Ctrl + L).
Reduce the saturation to 0 and the lightness by -10 using "Adjust Hue/Saturation/Lightness".
Move the new greyscale layer to the bottom of the stack.
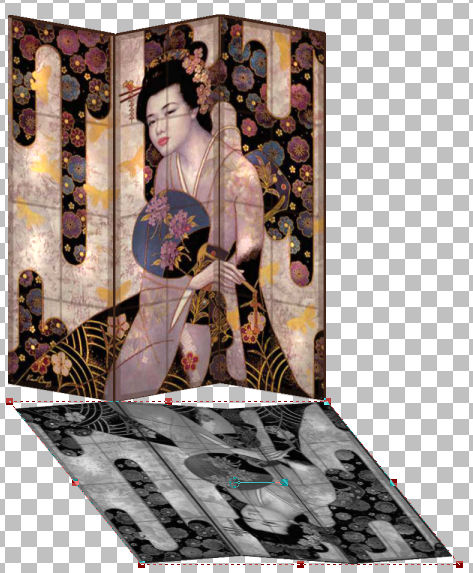
Flip the layer.
Use the deformation tool to shorten the image and angle it off to the side. Line up the lowest points of the screen with the highest points of the shadow like this:
 To
finish the shadow deformation we have to split the three panels into three layers.
To
finish the shadow deformation we have to split the three panels into three layers.
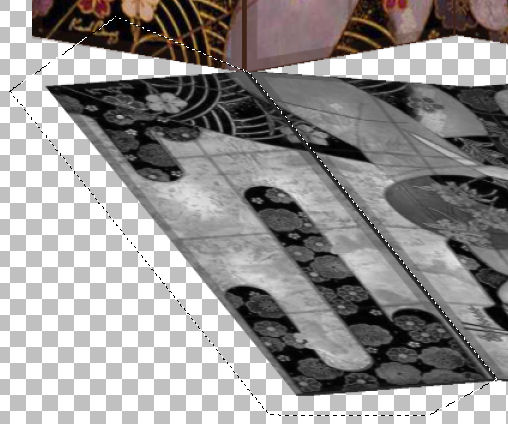
Switch to the freehand selection tool (lasso) and set it to "point to point" with antialias off and feather set to 0.
Select the shadow of the left panel, be careful to select straight down the line dividing it from the middle panel shadow.
Float the selection and promote it to a new layer.
Go back to the original shadow layer and divide out the middle panel the same way.
Save. (Tired of me reminding you to do that yet? :)
Now go to the layer with the left panel shadow on it.
Switch to the deformation tool
Hold down Shift and Ctrl and drag the upper left corner of the shadow to the bottom left corner of the panel.
Keep Shift and Ctrl down as you drag the upper and lower right corners to make the right edge of the panel shadow stray lined up with the middle panel shadow.
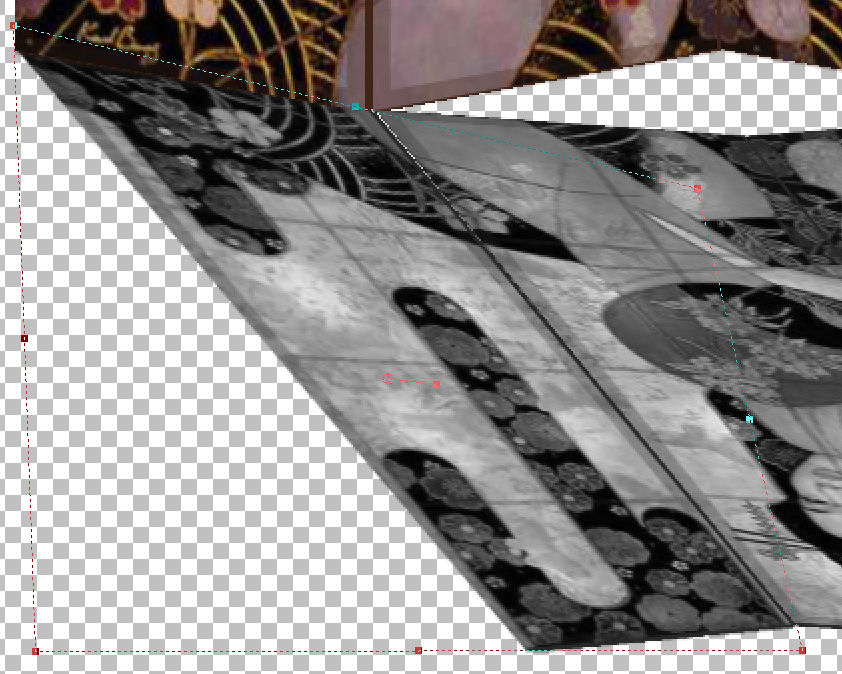
Do the same thing for the other two shadow panels, line them up with the panel bottoms and each other. Remember to hold down Shift and Ctrl while you drag each corner. It is easier if you to the middle panel last.
 Turn
off all layers but the three cast shadow layers.
Turn
off all layers but the three cast shadow layers.
Merge visible layers.
Apply a Gaussian Blur of 3 pixels and set the layer blend mode to multiply.
Now make a new layer and place it at the bottom of the stack. Flood fill with your background and enjoy the fruits of your labors.
For a more realistic fade on the cast shadow turn off all layers but the shadow layer.
Place a solid white layer under the shadow layer and create a new mask from the image with the image data inverted (this makes the white area clear in the mask).
Fill the mask with a black to transparent gradient.
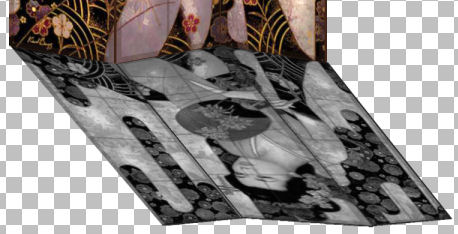
See the image at the top of the page for the finished product.
©2005 Lynn A. Davis