 |
Glass Domed Frames
|
I've received several requests for a tutorial about the jewels on the main tutorial page. [Note: this refers to an old layout.] Since I originally learned how to do them from a tutorial I haven't posted one but that tutorial has disappeared from the net. It was at this URL:
http://matrix.crosswinds.net/~caulie/tutorial01.htm
I think it might have also been at these URLs:
http://missoula.bigsky.net/krystel/tutorials/glassframe.htm
http://www.sealteamsix.com/msbttch2u/mypiece/tut13/tut13.html
So if the original author has a site somewhere, let me know and I'll put a link and credit up here. :)

|
You will need ONE of the following:
|
The first steps are the same for all three methods.
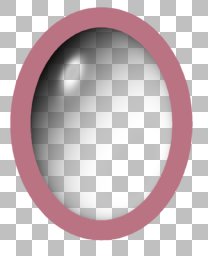
Open a new image 500x500 pixels, transparent background.
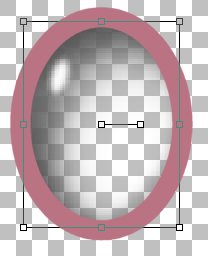
Add a new layer and draw an ellipse to make your frame. Thickness and color are whatever you want but you need to have the thickness be at least 2 pixels.
Go back to the bottom layer, now we will make the glass dome.
Choose your method, Bubble Tube, Waterdrop File, or Eye Candy.
Bubble Tube
Switch to the tube tool. Select the bubble tube and set the scale to something that makes sense for the size of your frame (I'm using 150). Place a bubble in the center of the frame. Since there are several sizes of bubble in the tube you may have to undo and place another bubble until you get a big one.
Switch to the deform tool and stretch the bubble to fit your frame, I go a bit beyond the inner edge of the frame so I know I will have no gaps:
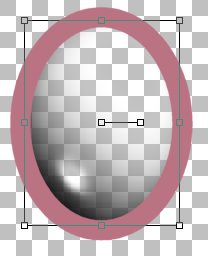
If you are using the 3D bubble the drop shadow will probably extend beyond the frame so go to the layer with the frame and use the magic wand tool to select the inside. Expand by half the frame width (in my case 10 since the ellipse is 20 pixels wide) and invert the selection. Go back to the bubble layer and hit delete to trim the bubble.
Skip to Finishing the Frame.
Waterdrop File
Open waterdrop.psp and copy the clear layer.
Paste the waterdrop on the layer under the frame.
Select the deform tool and stretch/shrink it to fit the frame, I go a bit beyond the inner edge of the frame so I know I will have no gaps:
Since light from the bottom is a bit odd to the eye, flip the layer and recenter the glass if needed.
Skip to Finishing the Frame.
Eye Candy
Flood the layer under the frame with white.
Go to the frame layer and select the inside of the frame and expand the selection by 5 or half the width of the frame, whichever is smaller.
Go back to your white layer. Apply Eye Candy Water Drops... with the following settings:
- Number of Drops = 1
- Edge Darkness = 80
- Opacity = 50
- Refraction = 50
- Drop Color = (medium grey, lightness 128)
- Random Seed = 1
- Highlight Brightness = 80
- Highlight Sharpness = 50
- Lighting Direction = 136
- Lighting Inclination = 20
Feel free to play with these settings, change the glass color, etc. When you like it apply it.
Turn off all layers except your white layer.
Go to Masks > New from Image and make sure the 'invert mask data' box is checked and that 'source luminance' is selected. Create the mask. Then go to Masks > Delete Mask and delete it.
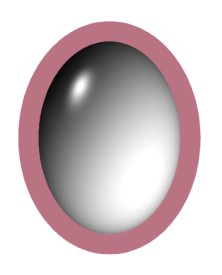
Finishing the Frame
Go back to your frame layer and select the middle of your frame. Expand by 5 or half your frame width, whichever is smaller. Invert the selection.
On your glass layer apply a drop shadow with vertical and horizontal offsets of 5 (or half your frame width), blur of 10, opacity of 50, color black.
Finish your frame as you like, I used Blade Pro.
Slide your image under the glass and enjoy.
|
|
|
|
|
|
|
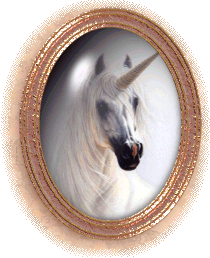
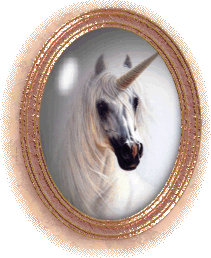
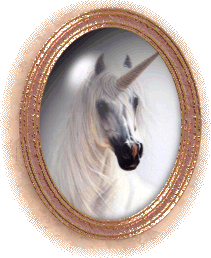
Unicorn image, copyright
unknown.
©2000 Lynn A. Davis